
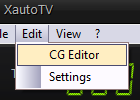
In the XautoTV menu bar, click Edit > CG Editor.
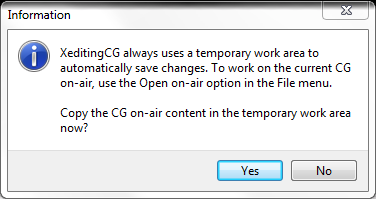
At startup XeditingCG always opens a temporary workspace which is automatically saved with each change.
To modify the CG currently on the air, you must copy the contents of the main CG to the temporary work area.
To do this, answer Yes to the message shown at startup.
From the File menu, you can open an alternative copy of the CG saved on disk or save the current workspace as a name.
The Open on-air and Save on-air options allow you to overwrite the temporary work area with the content of the CG used on the air and to apply the changes to the final CG.
|
Even if the changes are applied using Save on-air the new CG is not shown on TV until the File > Reload option on XautoTV is used. |
At the first start the CG is totally empty.
The changes that will be made on the temporary work area must be saved on the final CG and applied on the air.
The Systems section allows you to create graphical objects that must appear on top of them.
Graphic objects can be placed in two different overlap levels: Playout and Program.
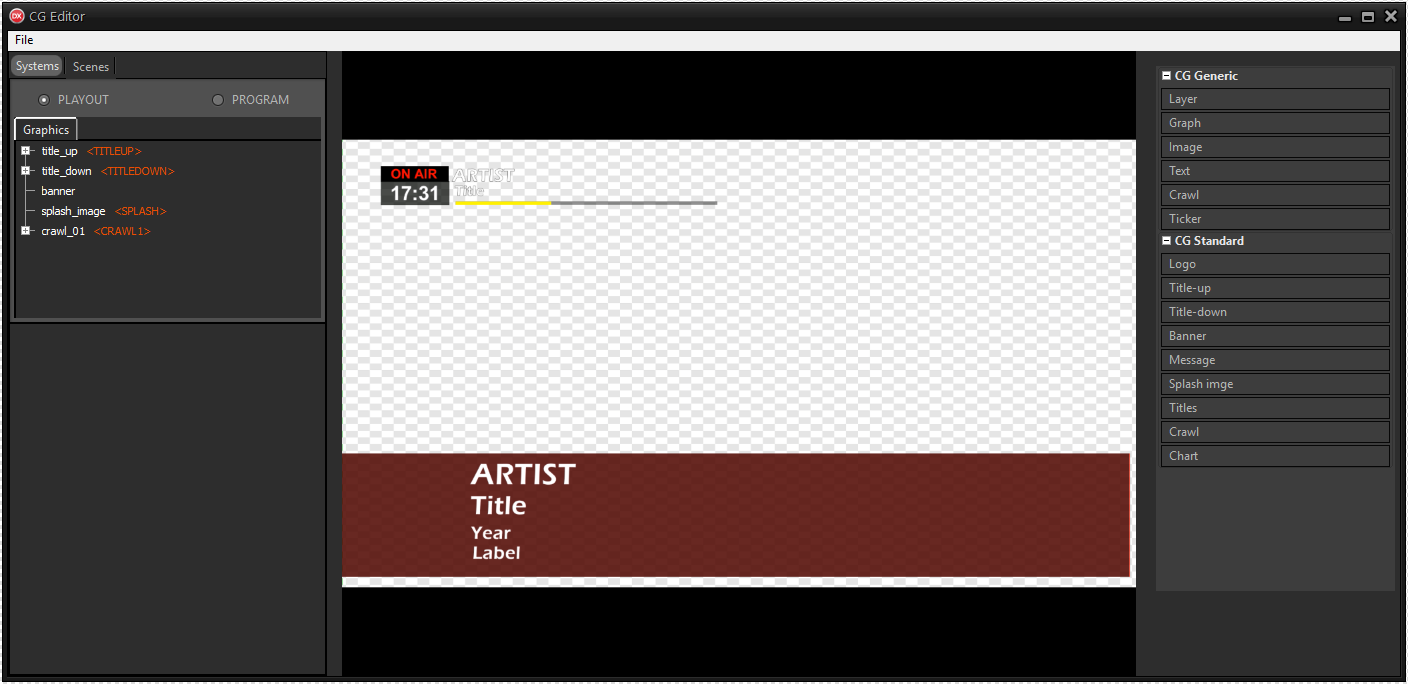
Selecting Playout it is possible to modify the graphics of the playout, the source that contains audio and video from the XautoTV playlist.
By selecting Program you can change the graphics of the program, the final output of the TV. The Program is a graphic level that is always shown above the playout or any other scene.
|
Part of the playout is all the graphics closely linked to the video clips of the songs, such as the titles or the crawl for related news. Part of the program is all the graphics that must always appear superimposed, regardless of the active scene, e.g. the logo of the issuer. |
On the right, the CG Generic list contains generic graphic objects that can be assembled and customized to create the CG components.
The CG Standard list contains ready-made default components. They can be used as a basis for personalizing your graphics.
All inserted graphic objects are shown in the Graphics subsection.
The Scenes section are containers that can have audio and video sources inside them (e.g. cameras, live video from external device, audio mixer input).
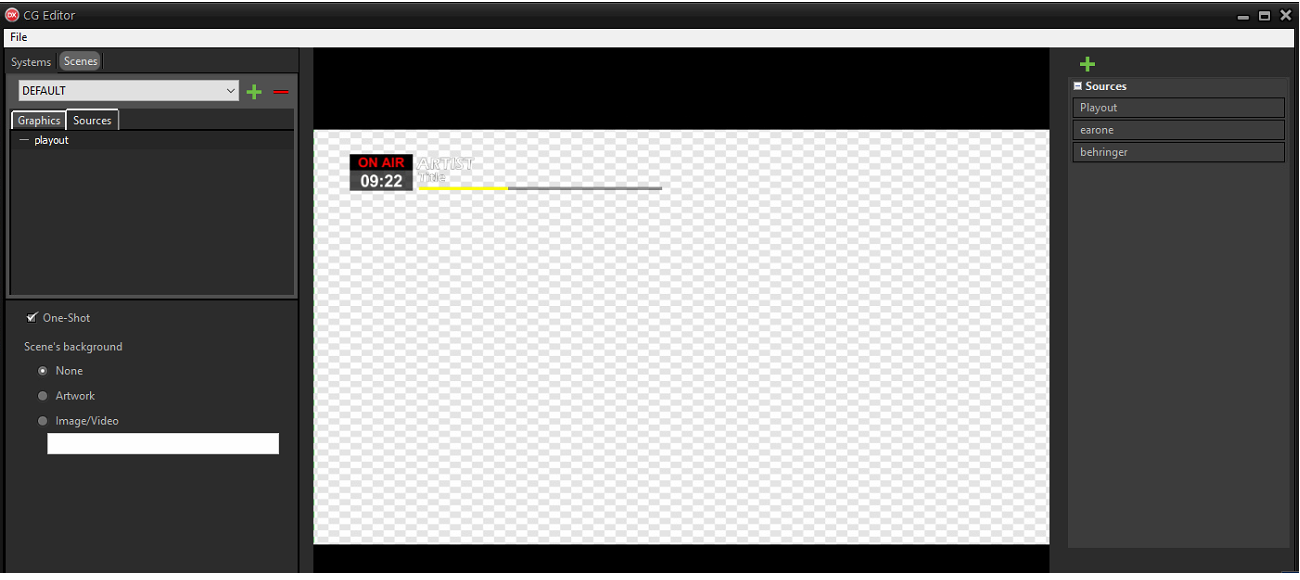
On the right, under the heading Sources, all the sources created are listed, which can be used by dragging on the central pane.
On the left, there is a drop-down menu to select the scene and the buttons to create a new one or delete an existing one.
After selecting the scene, on the left, in the Graphics and Sources subsections, the relative graphic objects and the sources used are shown.
It is possible to enable the background for the scene through the Scene's background option:
- None: will not activate any background.
- Artwork: use the artwork of the song on the air.
- Image/Video: select the path of the image or video to be used.
